
 It takes a while to make a sourdough starter and it can be very frustrating: don’t give up and you will be rewarded, probably right at the point where you think it’s never, ever going to work. I still find it hard to believe that you can take some flour and some water and produce something that will actually make bread rise. There are a lot of recipes for creating a sourdough starter out there and they include all sorts of things, from fruit such as grapes or apples, to milk or yoghurt. I didn’t want to use a starter with anything in it that I wouldn’t normally put in my bread so went for the simplest approach: flour and water.
I found a really great article online by Hugh Fearnley-Whittingstall for the The Guardian that takes you from making your starter all the way through to making your first loaf. In its first few days my starter had a horrible consistency and really smelt terrible: to the point where it was hard work discarding half and refreshing it with more flour and water. I thought it would never improve but it did and it actually smells quite pleasant now. Don’t be tempted to use your starter too soon: I did and it took two days for the dough to rise and although it was edible it was very sour. I was losing heart until a few days later when I refreshed my starter and left the jar two thirds full on the kitchen top. When I came back a while later it had bubbled out of the jar and I knew I had a properly active starter at last!

I think this is considered an “active” starter!
Hugh’s article will give you more detail but this is my experience of following his recipe and instructions.
Sourdough Starter
Ingredients
100g strong bread flour, then up to 1kg bread flour to feed the starter
Lukewarm water
Method
Put your flour into a large bowl and mix in enough lukewarm water to get the consistency of thick paint. Cover with clingfilm and leave it somewhere warmish. Check it every few hours until it has obviously started fermenting.
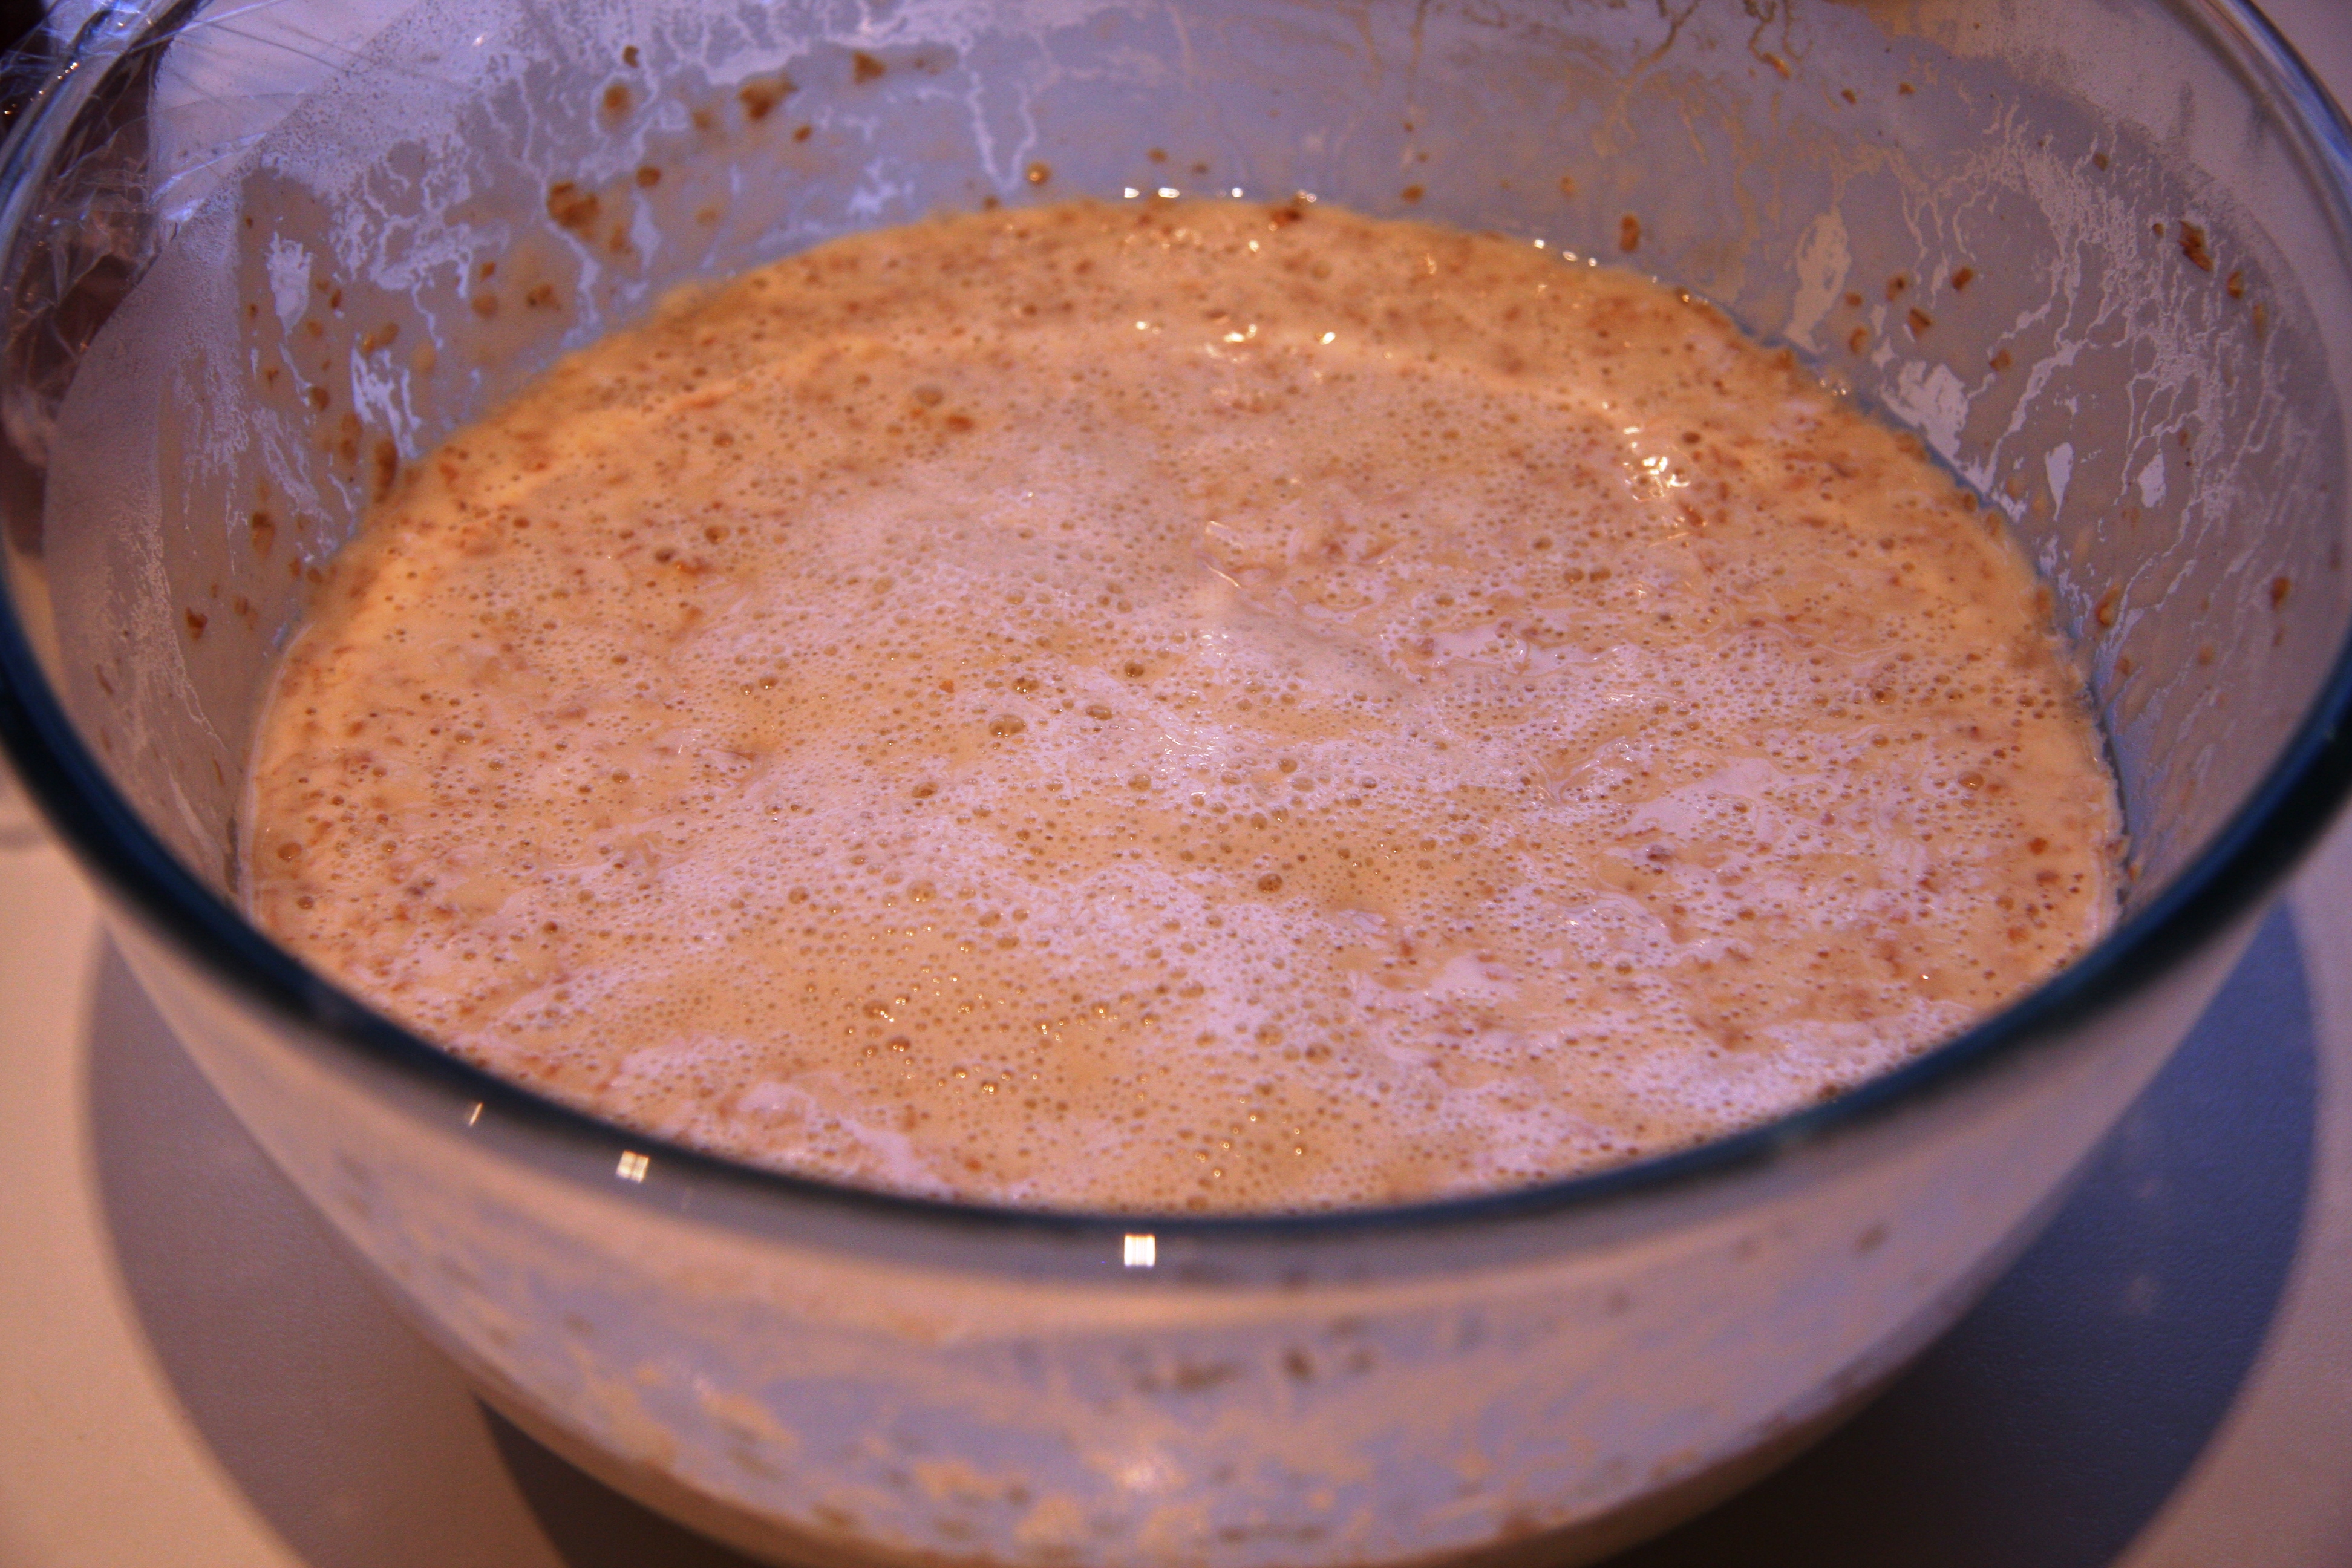
Bubbles are a sign it has started fermenting
Once it has obviously started fermenting it needs regular feeding. Add around 100g strong bread flour and enough water to maintain the thick paint consistency. Cover with clingfilm and leave until the next day. It now needs feeding every day: each day discard about half the starter and mix in another 100g flour and enough water to keep it at the same consistency. It may not smell very good at this point but it will improve. Give it at least a week and wait until it smells ok and you might be lucky with your first loaf.
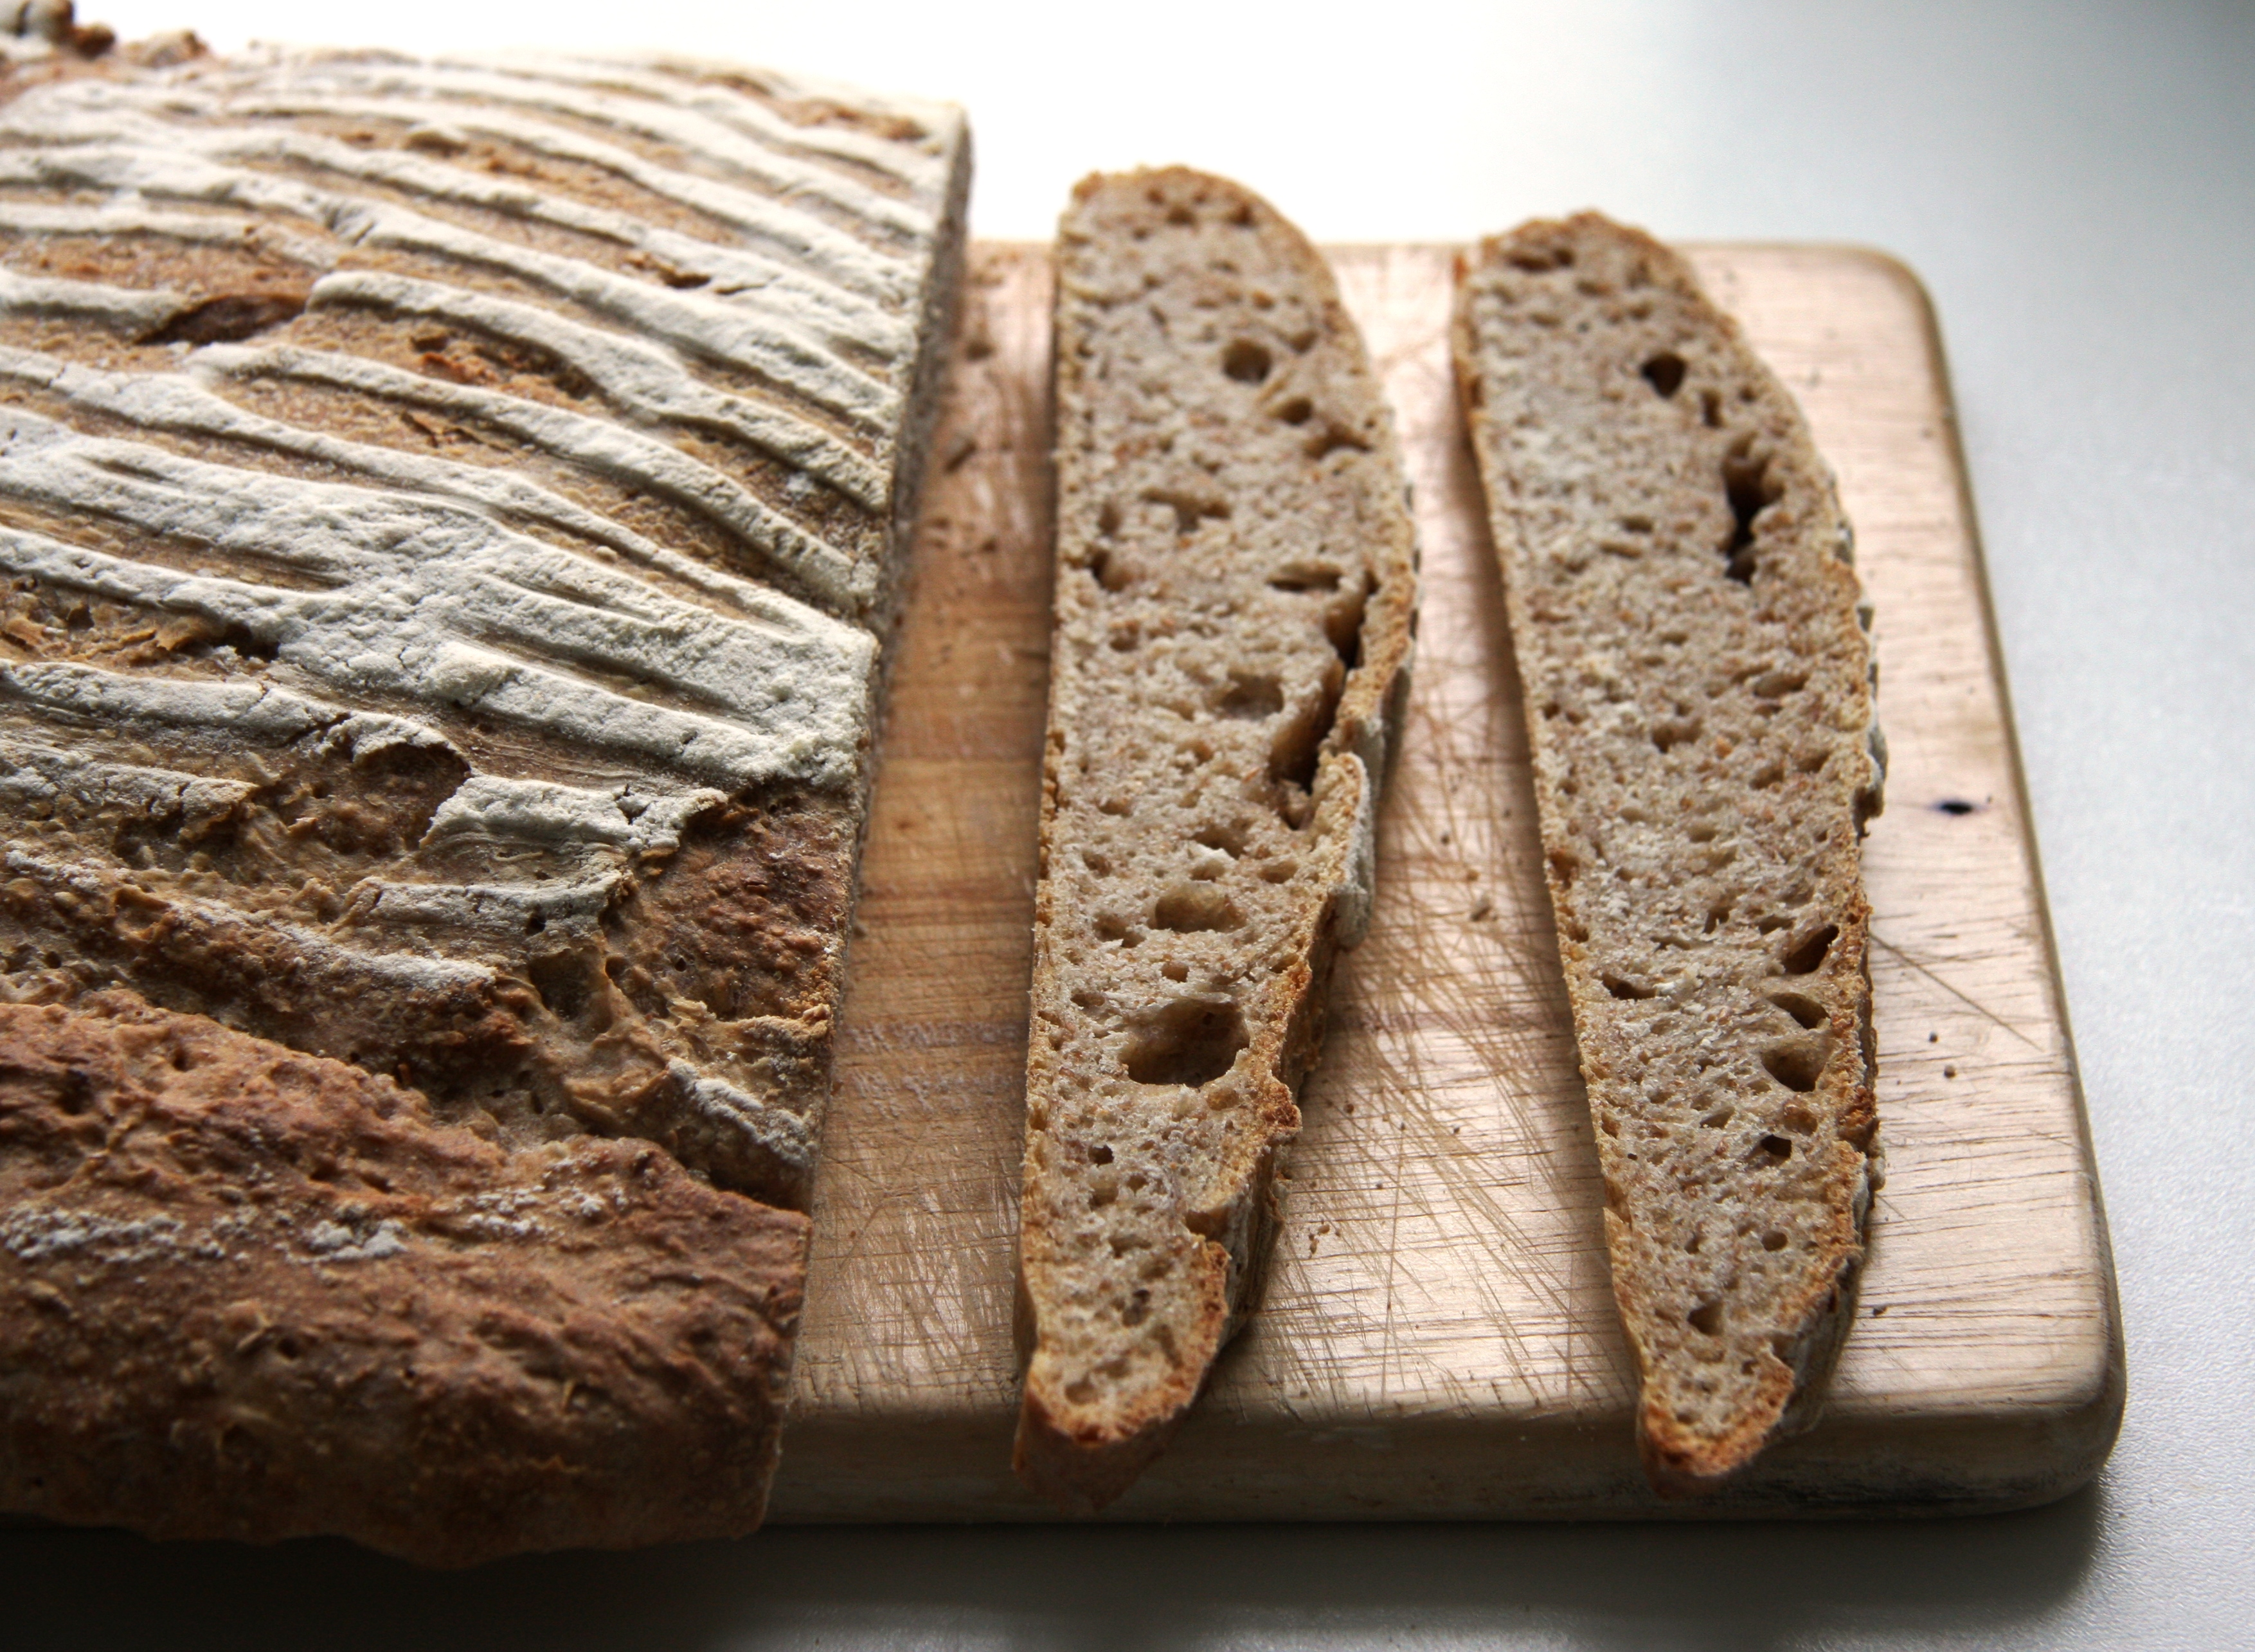
My first loaf was not a huge success. It took forever to rise during each stage and I had almost given up when it seemed to be working. However I think it had been in the proving basket for so long it had settled in for the duration and didn’t want to turn out. It eventually came out in two pieces and collapsed:

Ready to bake?! This loaf collapsed at the thought of it and is ready for a long lie down…
At that point I thought it was worth putting into the oven and it was actually edible, if quite strong tasting:
Sourdough loaf – the low rise version…
If this happens to you, don’t lose heart: it was a few days later that my starter took on a life of its own and when it did I immediately made up a “sponge” for my next loaf. I left the sponge overnight and made the dough in the morning. It rose so quickly this time the loaf was baked by mid afternoon.
Sourdough Bread
Ingredients
For the Sponge
About 150ml active sourdough starter
250g strong bread flour
275ml warm water
For the Loaf
300g strong bread flour
1 tablespoon olive oil
10g salt
Method
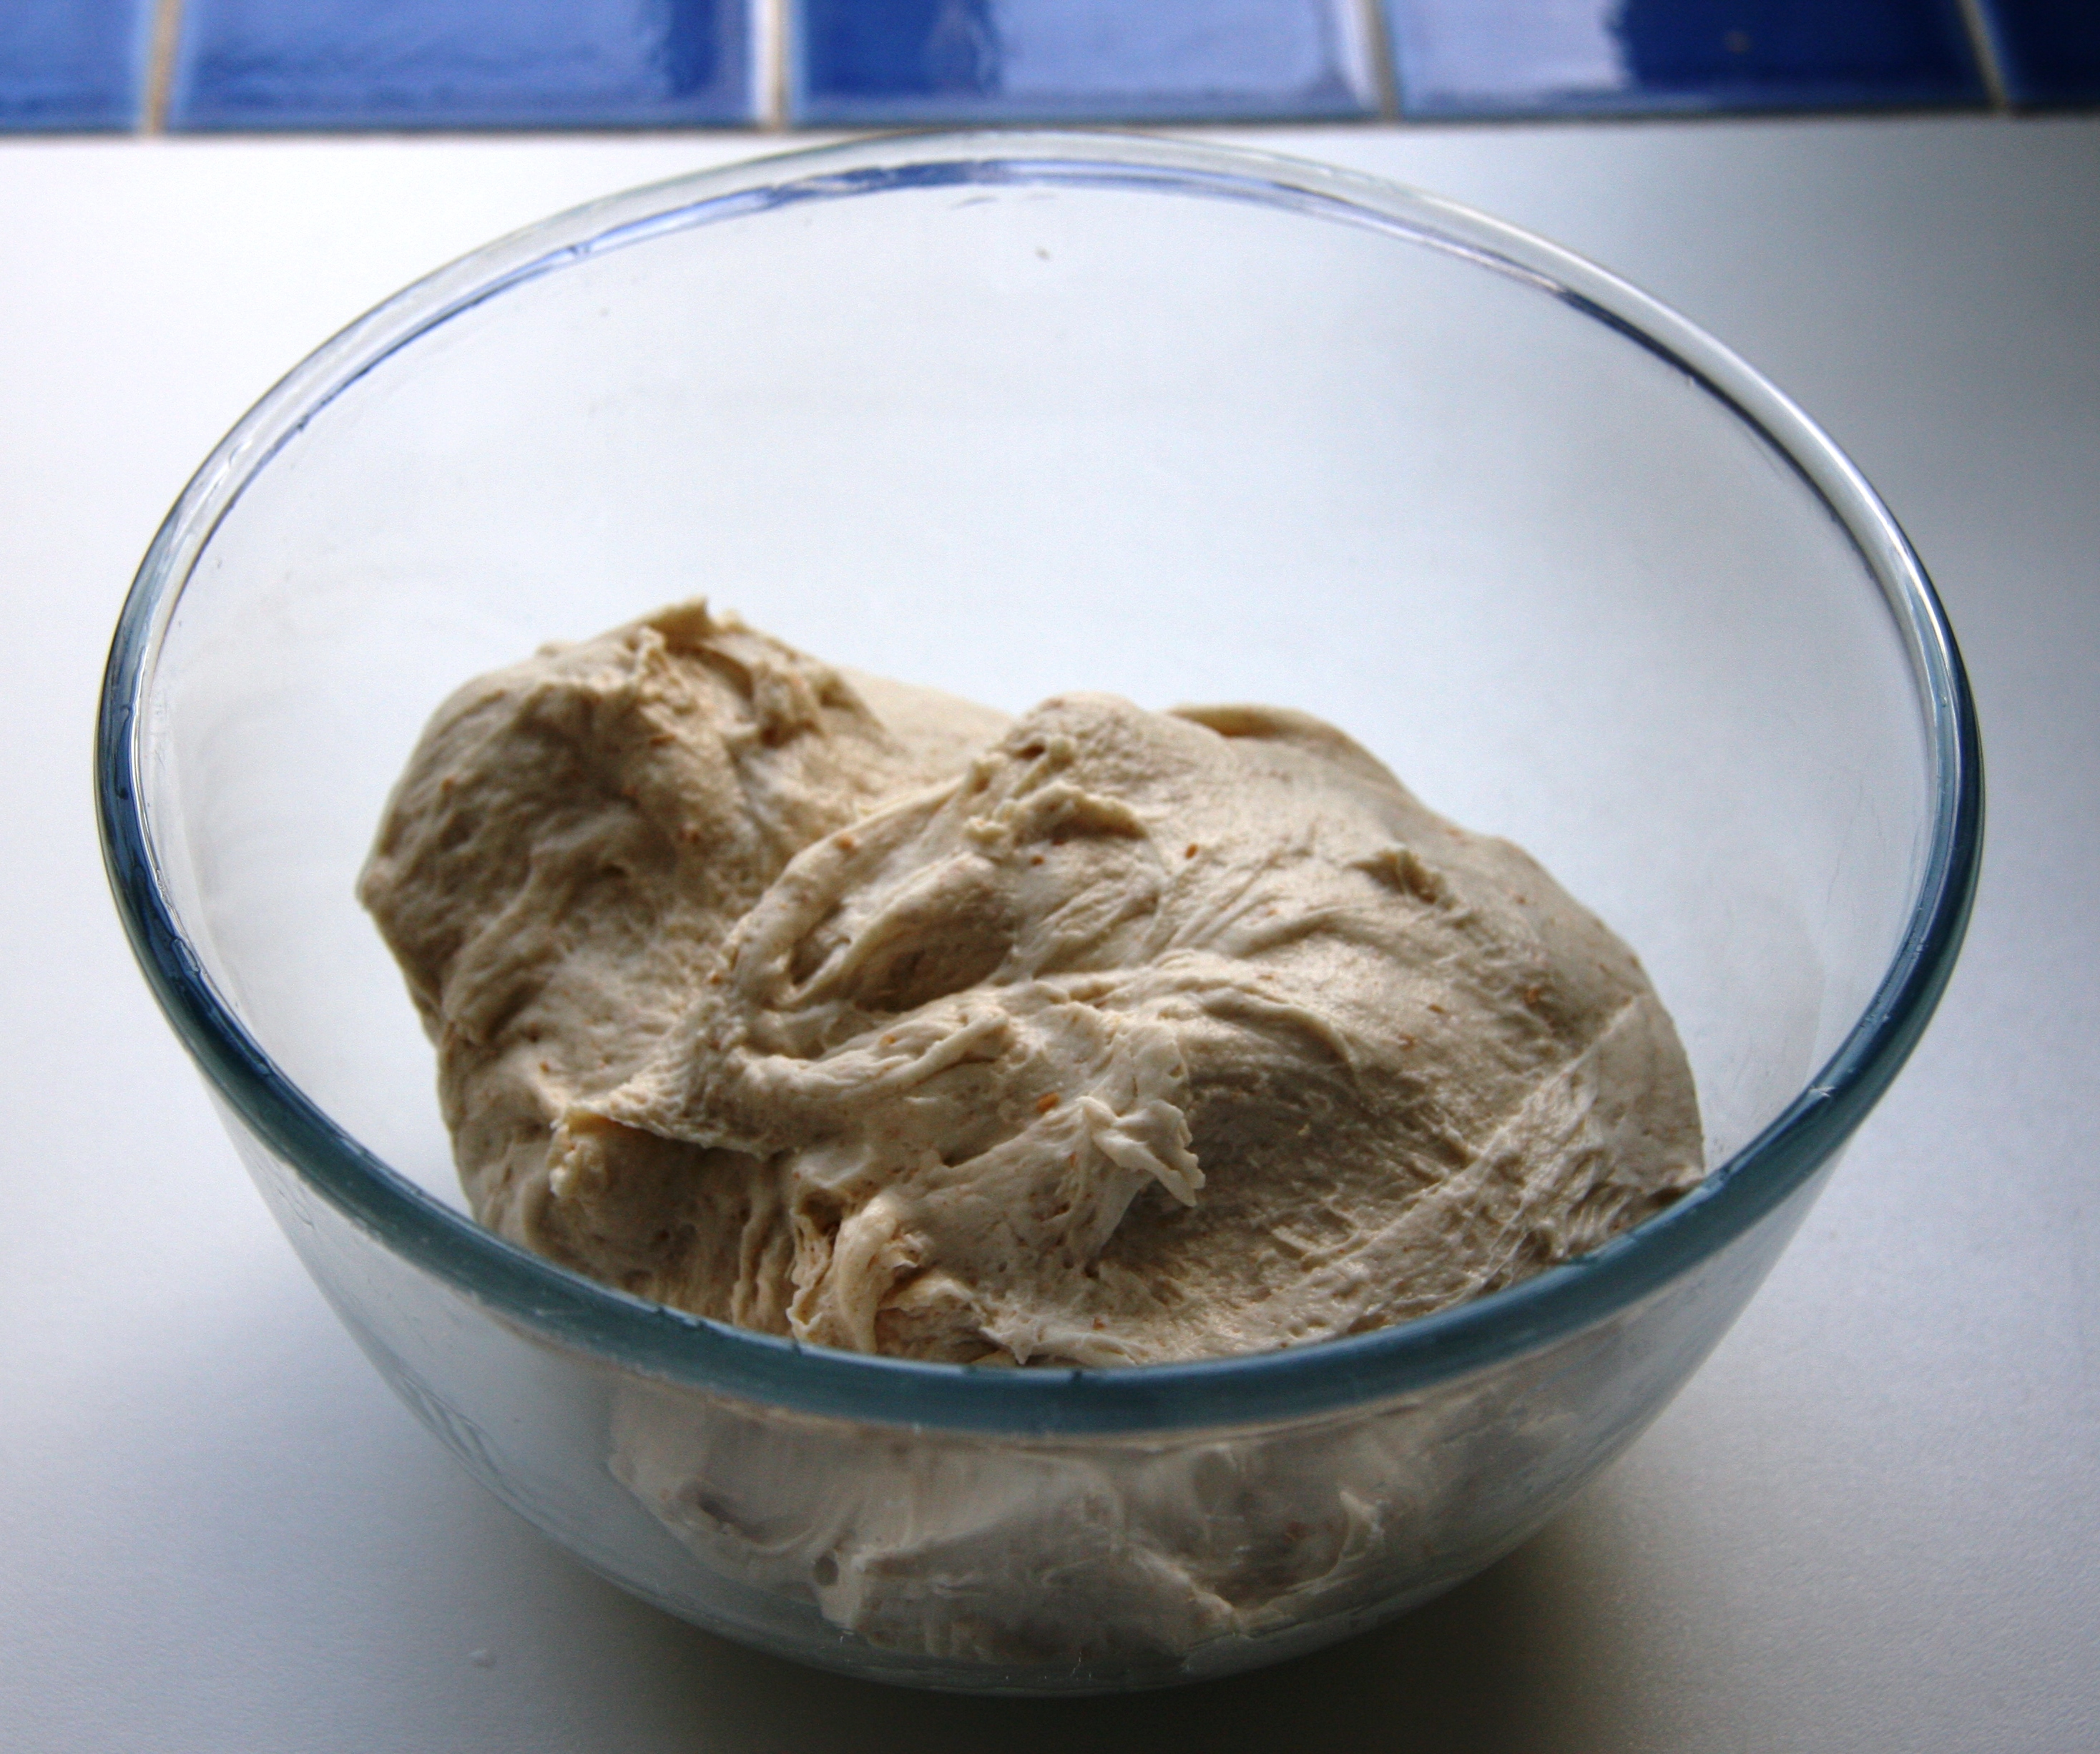
Make the sponge: put the starter, flour and water into a large bowl and mix to a smooth batter. Cover with clingfilm and leave, ideally overnight, until the mixture is thick and bubbling:

The sponge is ready
When your sponge is ready, mix it with the flour, oil and salt and knead for five to ten minutes, until it is smooth and silky. Put it into an oiled bowl and cover with a tea towel or oiled clingfilm:
Cover and leave to prove
Leave to prove until it has roughly doubled in size:

Ready to knock back
When it has risen, turn it out and knead it briefly. If you have a proving basket, flour it really well and put your dough into it to rise again. If you don’t have a proving basket you could use a shallow bowl: line it with a clean tea towel and flour it well. Cover with oiled clingfilm or a tea towel.
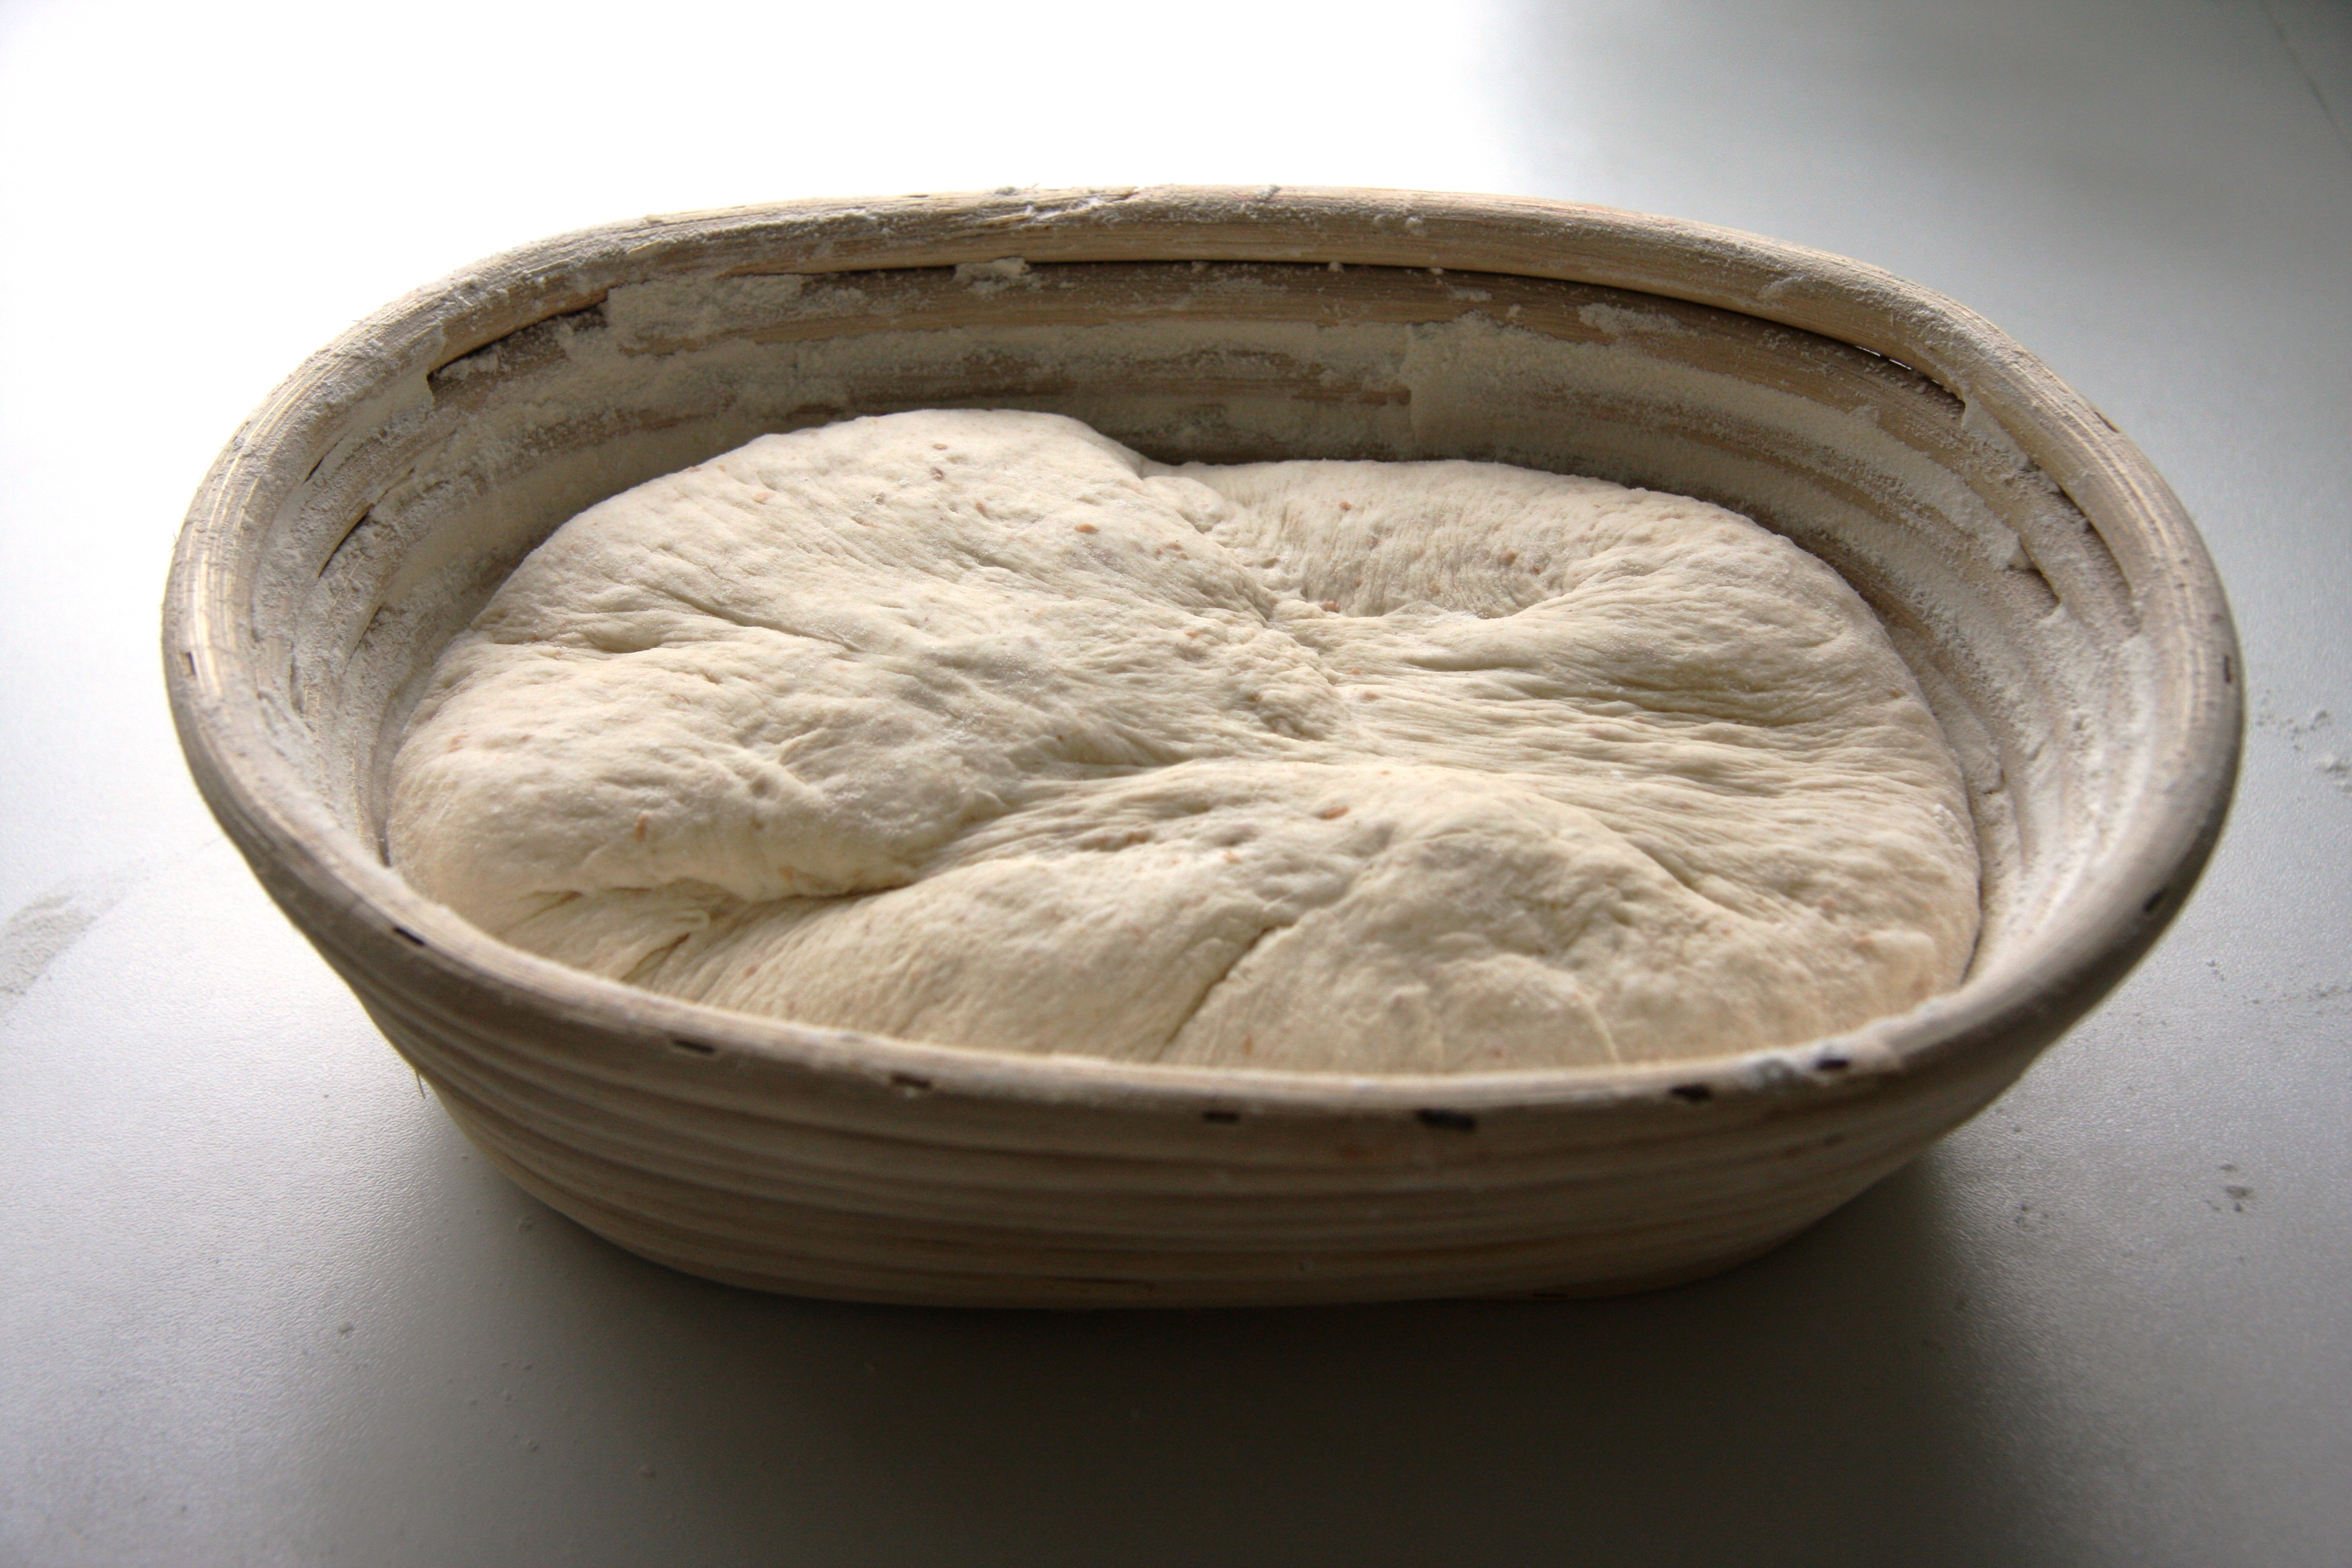
Leave to rise for the second time
When it has roughly doubled in size it will be ready to bake. I went out and was surprised to find how much mine had risen by the time I got back:

Slightly over-proved!
Heat your oven to 250ºC and put a baking sheet into the oven to heat up. I have a pizza stone so used that.
When the oven is hot carefully turn the bread onto the baking sheet – it might need some help with a palette knife but be very gentle with it.

Ready to bake
Put your bread into the oven and turn the temperature down to 200ºC. It will need about 30 minutes and when it is done it will be well browned and sound hollow when you tap the base.
Allow to cool on a wire cooling rack.
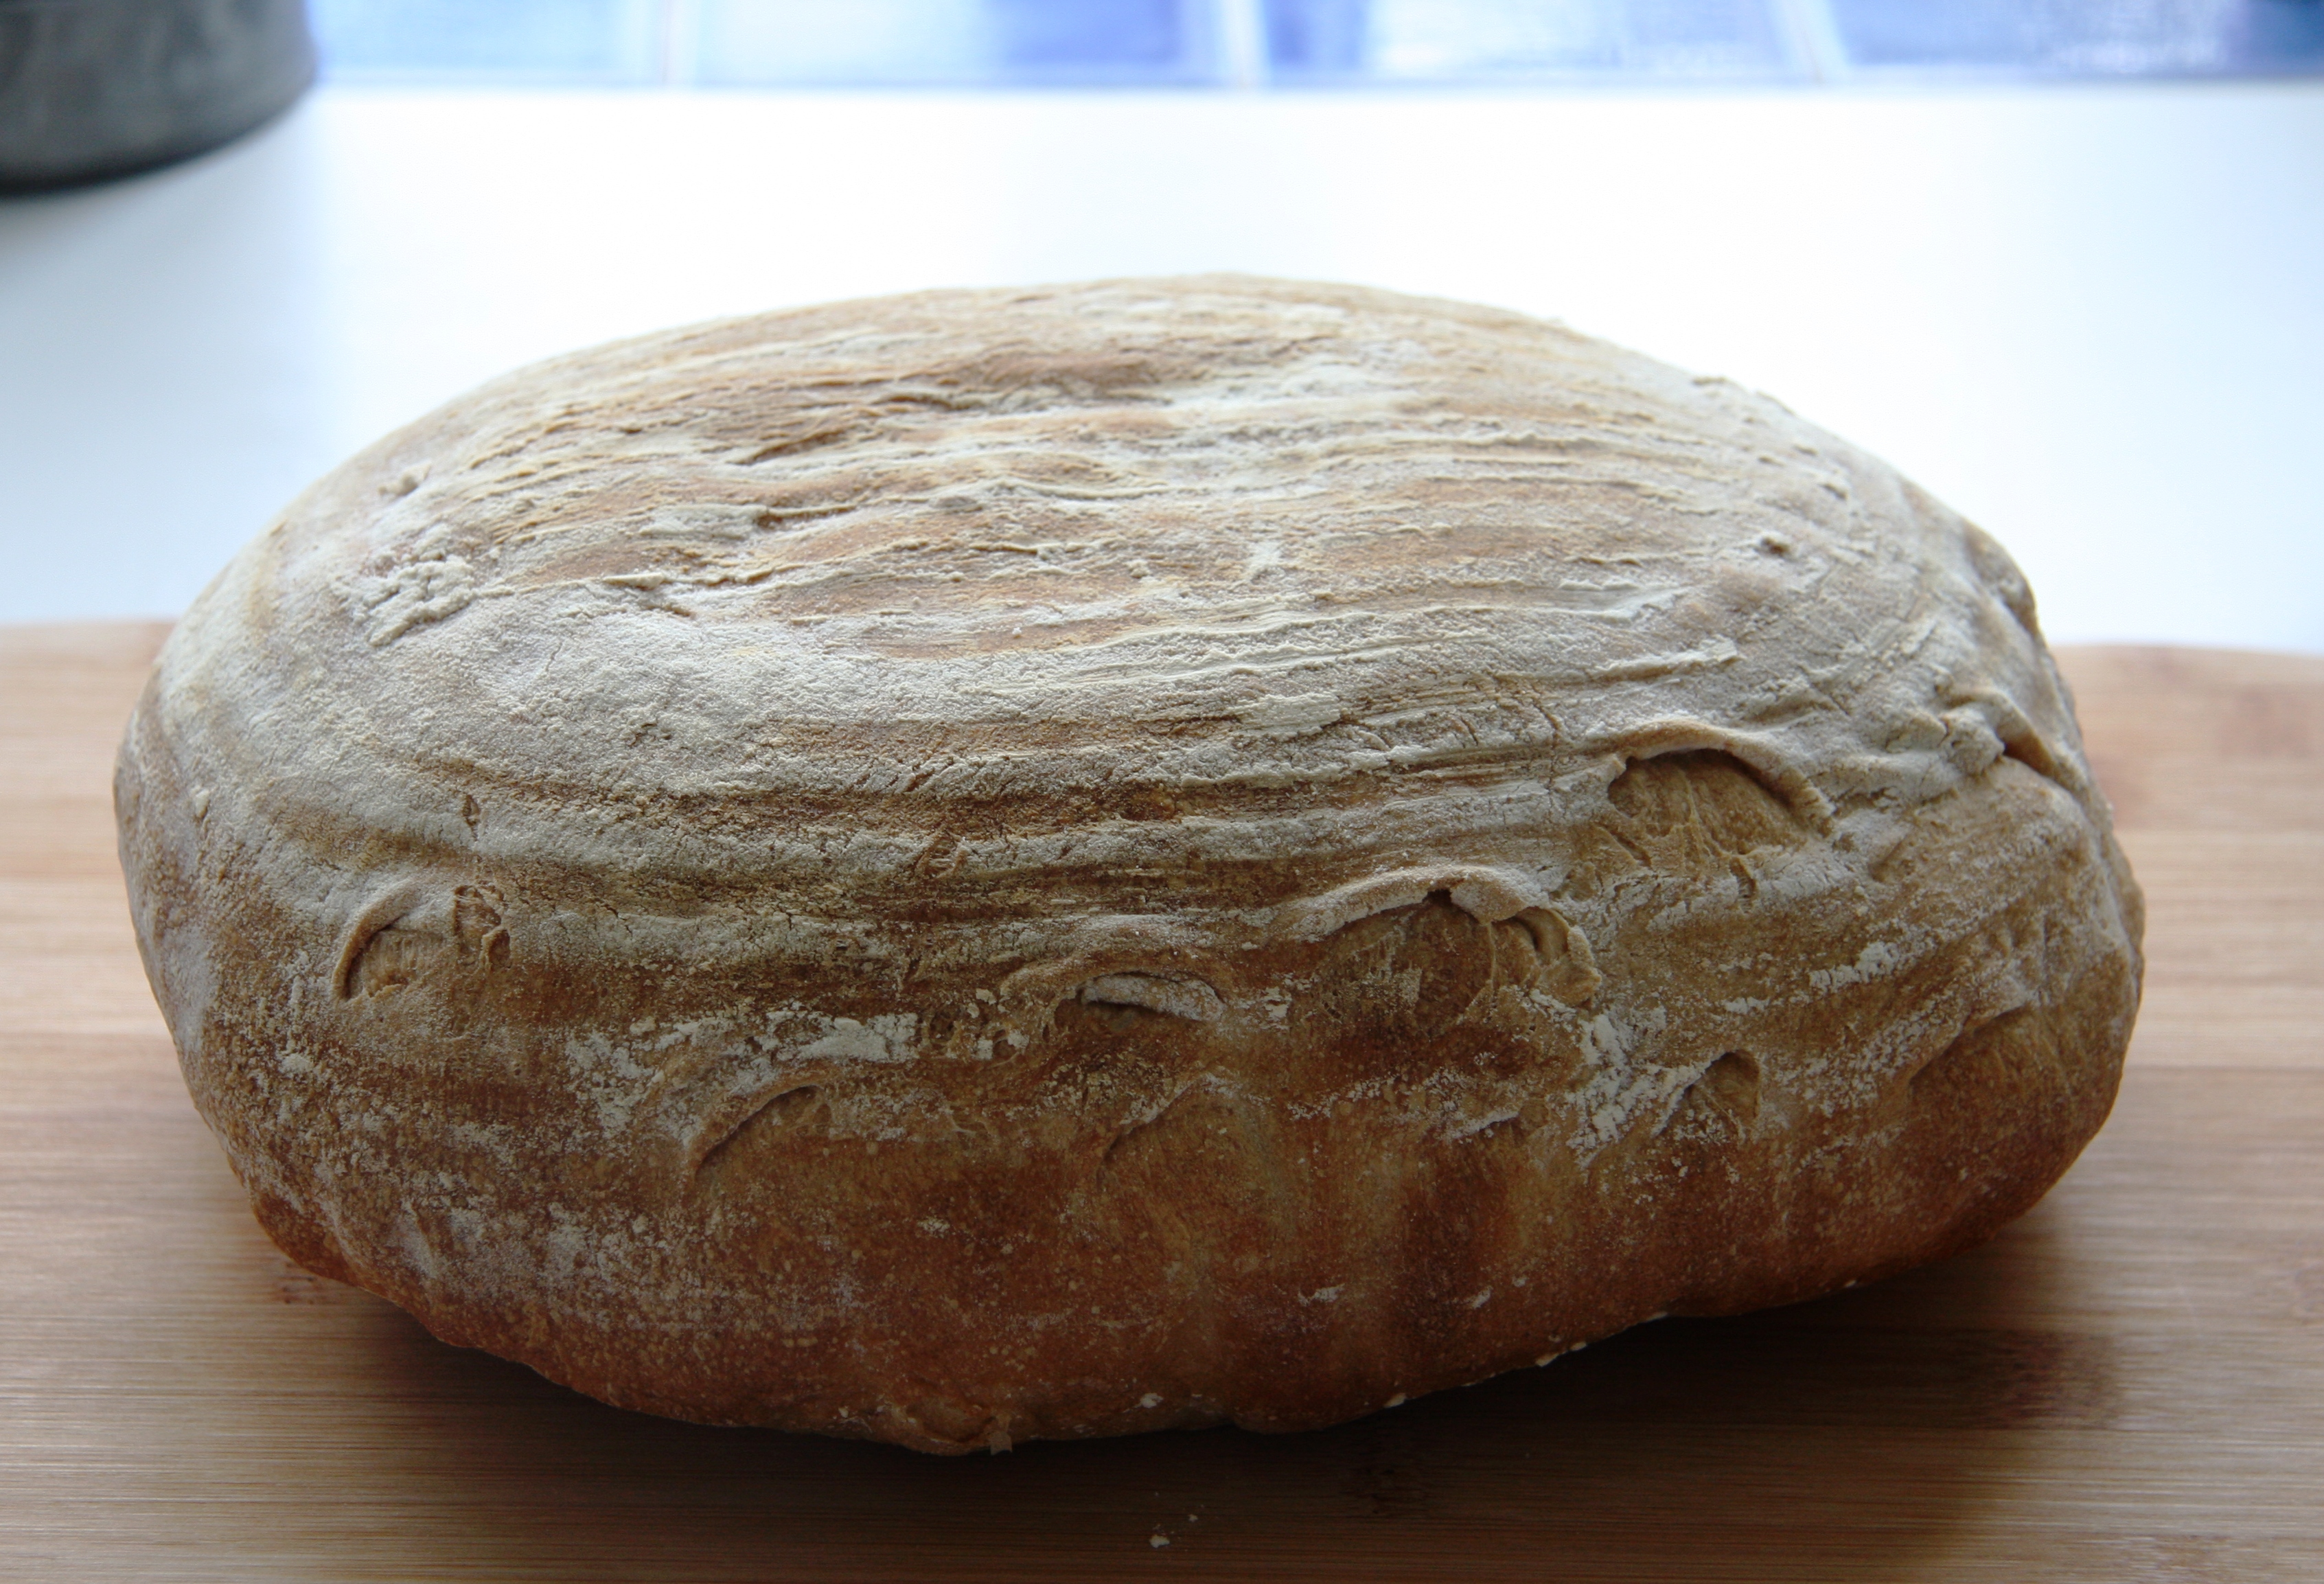
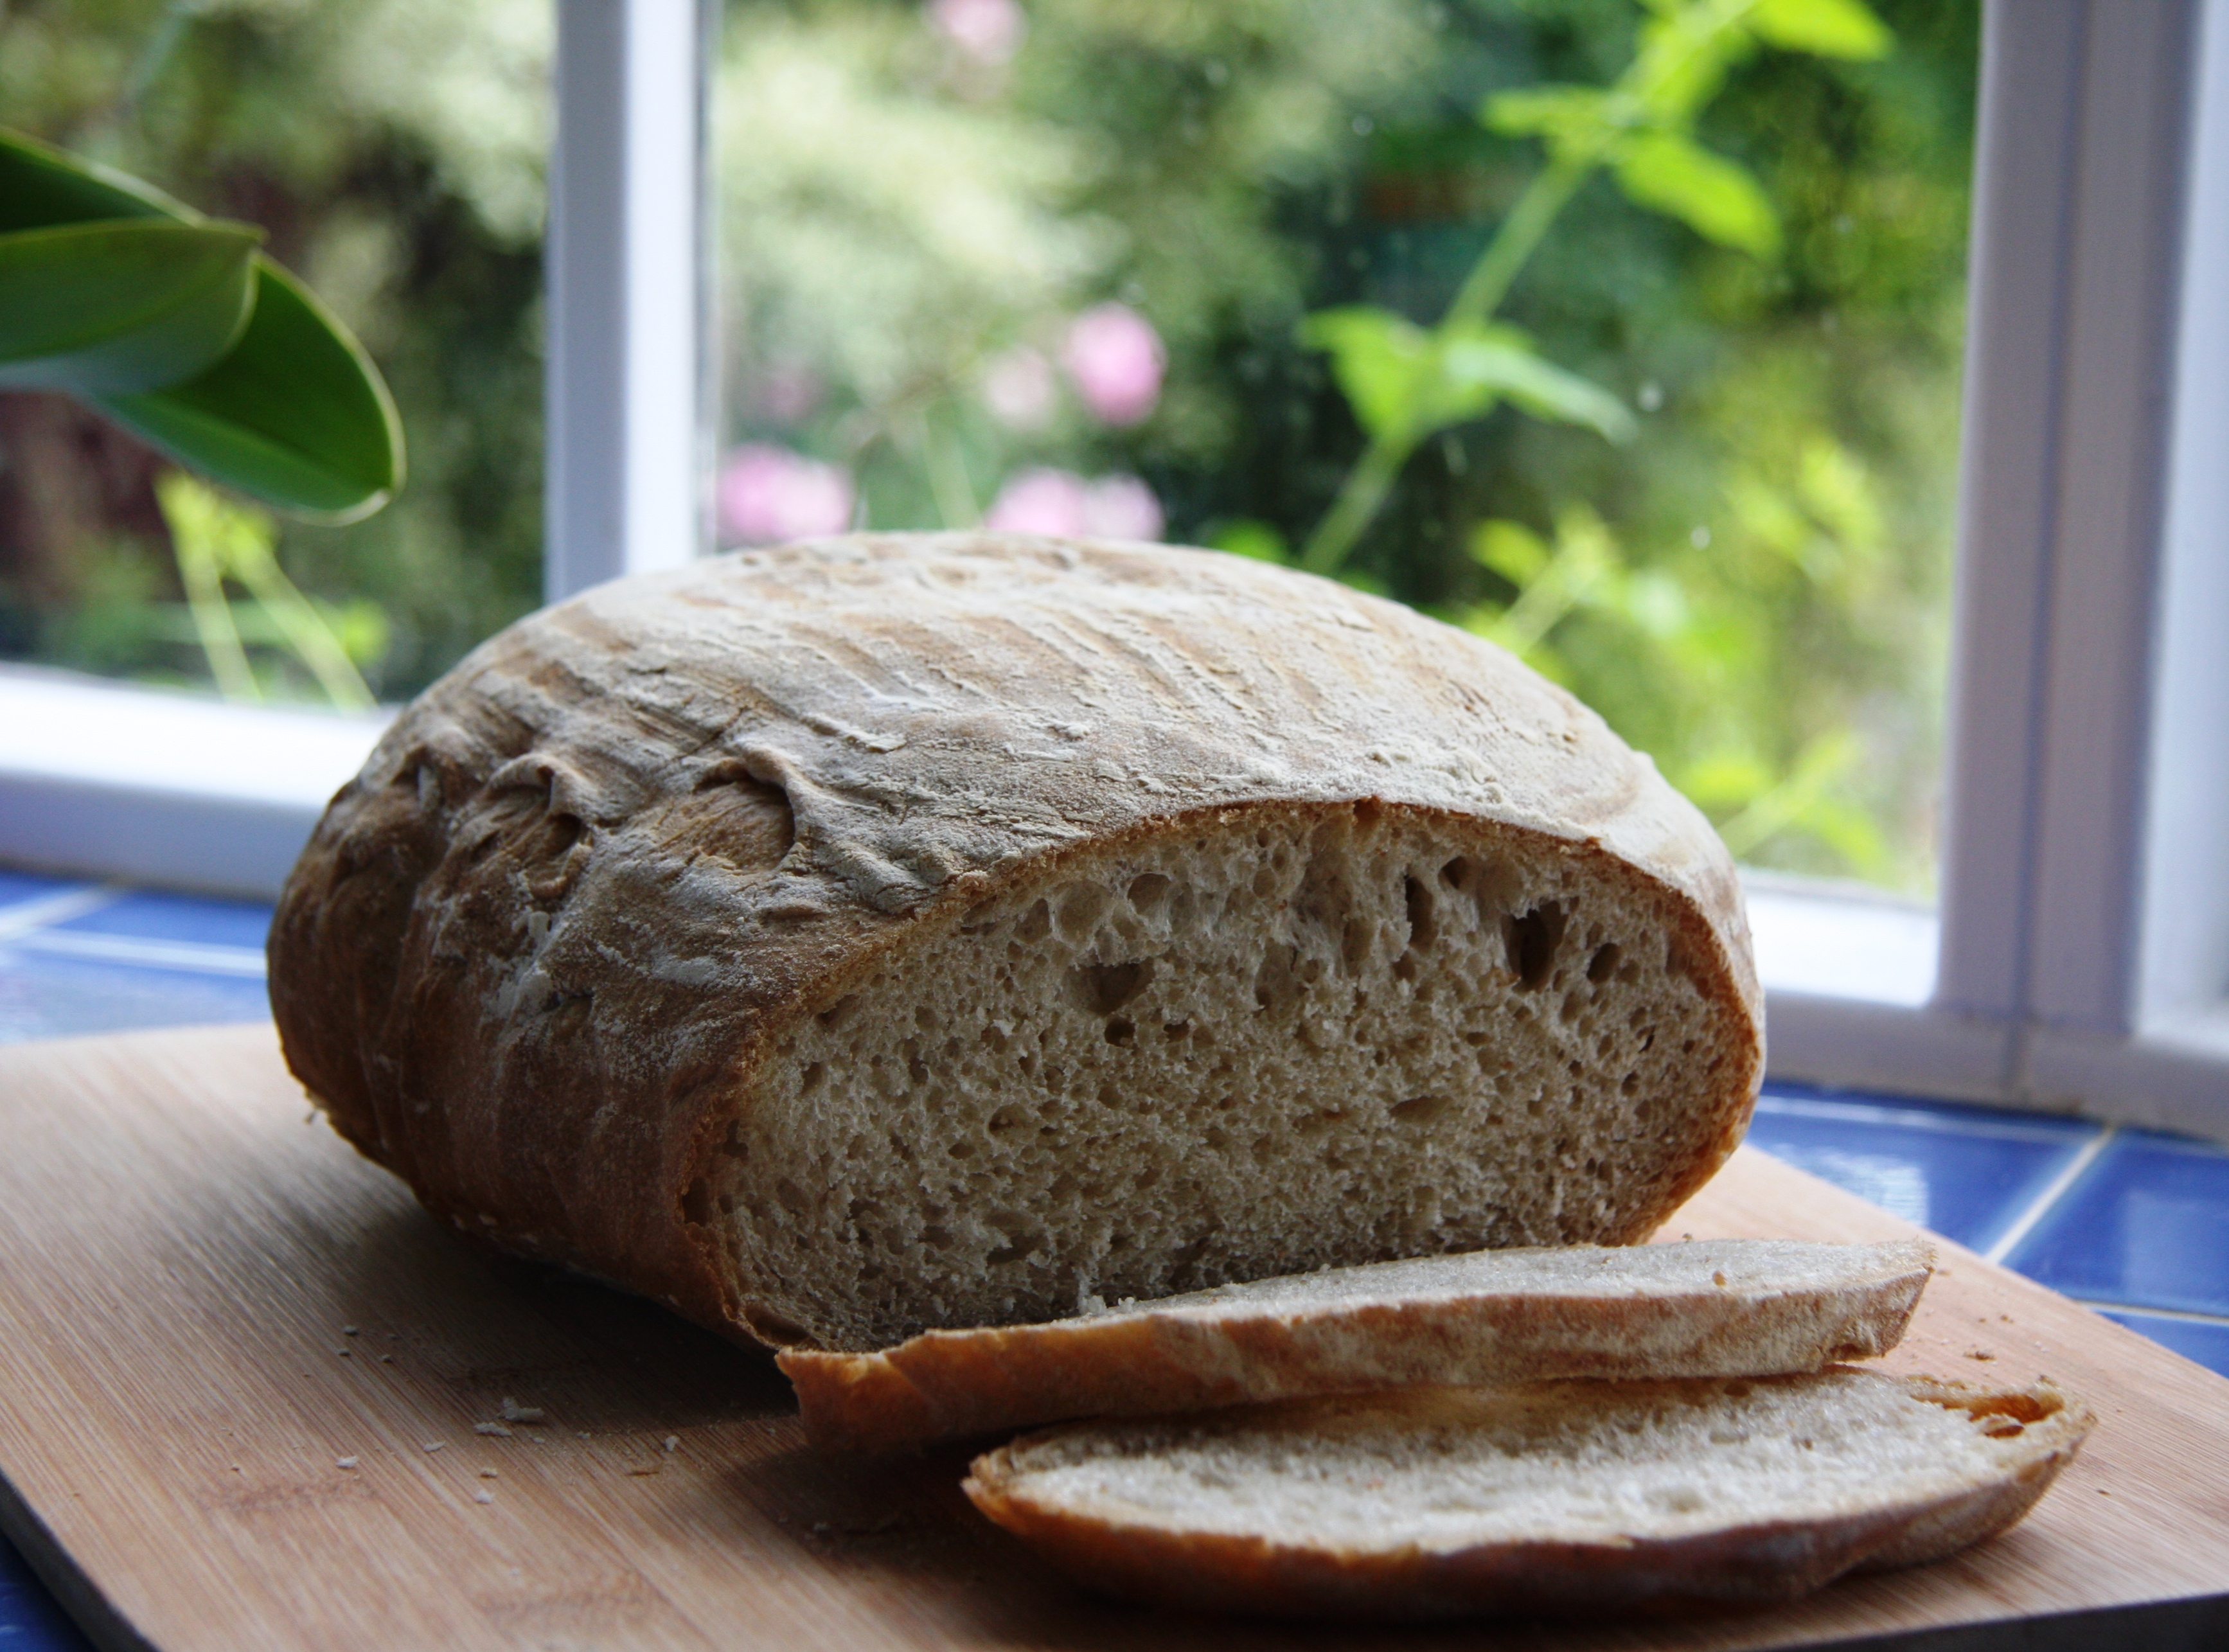
Success!
My third attempt was equally succesful – long may it last!
Once you have your starter properly established you can keep it in the fridge and do not need to refresh it as often: just make sure you feed it at least once a week and/or before you want to use it.


Excellent post. I admit we bought our starter but we’ve kept it going for years now. We use it all the time.
Thank you – I had previously used one that a friend made but that didn’t survive my house move. I decided it was time to give it a go myself – I still can’t really believe it actually works!
That is one thing that probably won’t be able to move with us when we return to the UK. Which will be sad as by then it will be over a decade at that point.
I know you can dehydrate it, or freeze it – maybe you could get it back like that? Seems a shame to lose it but at least you will be able to make a new one if you can’t bring it!
That’s a thought. Definitely will look into that.
wow this look amazing!! I will try out your recipe and guidelines and will succeed too!
What a fabulous final loaf 🙂 I’ve had great fun making starters and getting grips with sourdough, it’s so satisfying isn’t it??
You’re right, it is very satisfying. Although at the moment I keep expecting it to fail again – so far, so good!
You’re giving me the inspiration to try this. Especially as it’s fairly dry to experiment (my flat is so cold and damp in winter I wouldn’t expect a starter to survive). And your final result looks amazing. I’m with you – how does that work?!
I hope you manage to get some success with your starter x
I love this post! I’m growing my own starter as we speak. Eek- wish me luck! Your sourdough looks amazing 🙂
thelemonandjar.com
Hi, hope your starter turned out well!!!
Unfortunately, I swapped brands of flour half way through and think I may have killed it! It has started to smell almost like nail polish remover 😦 It is also really cold right now and I’m not sure that it’s growing the way it’s supposed to!!
I don’t think the flour brand should make a difference as mine has white, brown and spelt it in, depending on what is around at the time. Also you can keep it in the fridge so that should be ok too. Hope it has resurrected itself!
Unfortunately after 2.5 weeks it showed barely any signs of activity (and did not smell right anymore) so I decided to scrap it and start another one in which I shall place all my hopes on! Tell me, should I be using filtered water during the starting stages of my starter ? 🙂 I really appreciate your help! You’re like my guru for sourdough! Haha
Xx Roxanne
Hi, I definitely didn’t bother with filtered water – I can highly recommend the Hugh Fearnley-Whittingstall article and there is a link to it in my post. Good luck with your second attempt, I’m sure it will work this time!
Thank you for such a brilliant, helpful and reassuring post! After a week and a half of sitting my jar on a hot water bottle in the shelter of my microwave (my house is always on the cold side), I am finally ready to prepare for my first loaf. Making the ‘sponge’ is my next step! If you hadn’t shared your sourdough journey I don’t think I would be at this next exciting stage. Wish me luck xx
Sorry I’ve only just seen this!!! You are way ahead of me on the sourdough journey! xxx